


Advertisement


Advertisement
Poly Bridge 2 doesn’t rush. It hands you a calm little puzzle, then quietly steps aside. You’re given some road, wood, steel, and a budget. That’s it. No flashy menus, no voiceover, no chaos. Just the question: can you build a bridge that holds?
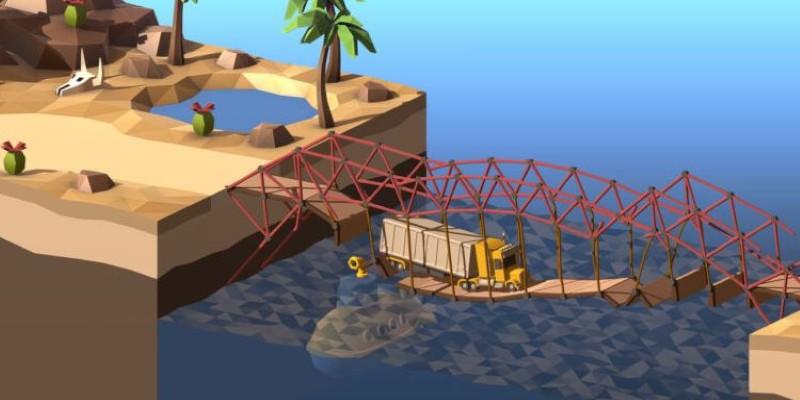
The game's look is soft and playful, but its physics are serious. Materials behave as you'd expect. Things creak, bend, and snap. But failure doesn't feel punishing. It’s part of the rhythm. One minute you’re watching a van dive nose-first into a river, the next you’re smiling and nudging a beam a few pixels to the left. Try again.
Each bridge feels like a small science experiment. You tweak something. Run the test. Watch it break. Try again. Sometimes it collapses in the same place five times in a row. But that sixth time—when the wheels reach the other side—it feels earned. That little win is why you keep playing.
There’s no one right way to solve a level. You can overbuild with crazy support towers, or try to make the cheapest bridge the game will allow. Some designs look like a mess and still work. Some look perfect and snap under pressure. That’s the fun—finding something that holds, even if it looks like it shouldn’t.
The new spring parts are a good twist. They allow weird motion and flex that wasn’t possible before. That means new kinds of bridges, some that bend and swing instead of staying rigid. Combined with hydraulics and the stress overlay, you end up designing machines more than static structures.
It’s quiet, sometimes even meditative. No time limits, no shouting, no constant rewards. Just you, a few parts, and the satisfaction of solving a problem your way.
Step 1: Start the game and enter campaign mode. Begin with the first level. You’ll see two sections of road and a gap between them. Your goal is to build a working bridge using the materials provided—usually starting with wood.
Step 2: Place road panels across the gap to form the path. Then build a support structure under or above it using wood beams. Triangles are your best friend here—use them to spread weight and keep things balanced.
Step 3: Check the budget. You can’t build endlessly. Try to keep things efficient. Use as little material as you can while still supporting the car.
Step 4: Press the play button to test your design. If it fails, pause and activate the stress view. Red zones show the weak points. Adjust these areas—maybe change angles, add a beam, or move a joint.
Step 5: Undo, rebuild, and test again. Later stages introduce stronger steel parts, as well as hydraulic pistons that move sections of the bridge. Springs show up too—they let your bridge flex or bounce slightly.
Step 6: Refine your build. See if you can stay under budget or use fewer pieces. Replay older levels with new ideas. The more you experiment, the more clever your designs become.